
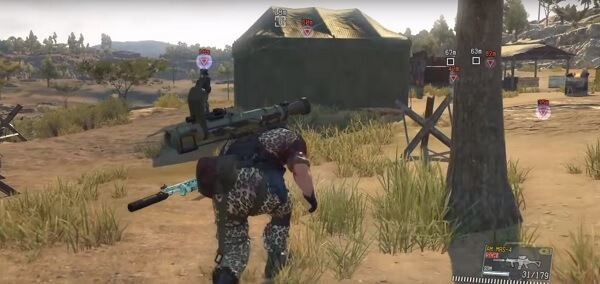
If you scroll below, you’ll find a comprehensive list of Metal Gear Solid 5 Side Ops – 76 through 100. In this Metal Gear Solid 5 Side Ops Walkthrough, we’ll be discussing the remaining 6 heavy infantry removal missions, how to make contact with Emmerich, the 10 mine clearing side ops and how to eliminate the armored vehicle units – the first 8 missions.
Not only is Metal Gear Solid 5 exceptional, you have a ton of things to do besides Side Ops. Read our MGS V Review to understand why we have fallen madly in love with Konami, Hideo Kojima, Big Boss, and the lovely Quiet. Some of us have a crush on Quiet – looking at you Jennifer.
- Metal Gear Solid 5 Walkthrough Side Ops – 1 to 25
- Metal Gear Solid 5 Walkthrough Side Ops – 26 to 50
- Metal Gear Solid 5 Walkthrough Side Ops – 51 to 75
- Metal Gear Solid 5 Walkthrough Side Ops – 101 to 125
- Metal Gear Solid 5 Walkthrough Side Ops – 126 to 157
Metal Gear Solid 5 Walkthrough Side Ops 76 – 100

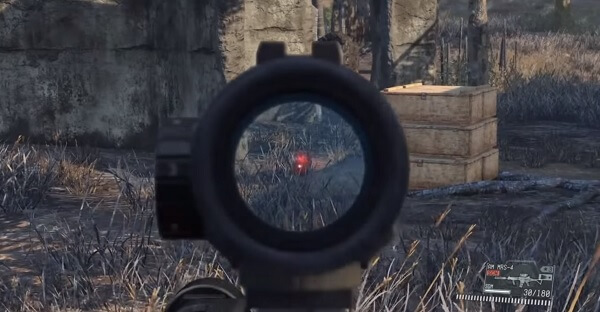
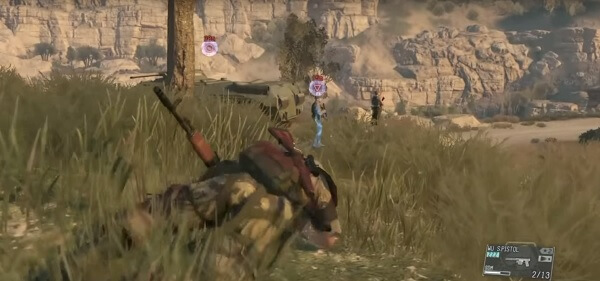
Side Ops #76 – Eliminate – Heavy Infantry 11
The GGW team suggests you take D-Dog along because of his canine ability of locating enemies and targets.
These heavy infantry guys will be stationed south of the Lufwa Valley area. There will be six soldiers that you need to take care of. Four of them are patrolling the lower valley and the other two are located at the top of the hill next to that ugly tin shed.
Big Boss should start with the four wandering buffoons. If you have Stun Arm blast level 3, and you should have it by now, use it to quickly remove the trash from the compound.
If you brought D-Dog along, let him take care of the rest. If not, then you’ll have to stick to the ground as low as you can and stealth-kill them.
Side Ops #77 – Eliminate – Heavy Infantry 12
The GGW team suggests you take Quiet along because she can equip her Sinful Butterfly and rain hellfire on your enemies.
There are 6 infantry guys that you need to take care off. They will be all stationed at guard post number 20. Two of them will be in the middle of the area, one will be next to the CFA tent, two are stationed west and the last one can be found in the watch tower.
We recommend you take the north route as it’s the best way to infiltrate the area without getting noticed. Kill the soldier that sits next to the CFA tent first, afterwards, make your way to the watch tower guy.
Now, it’s the perfect time to let Quiet do her thing – as in, destroy everything in sight. You might want to be alert, however. Toss some explosives here and there as the guards are heavily armoured and you don’t want any nasty surprises.
After the area is cleared, you can extract the ones with juicy stats to your Mother Base and leave the unworthy behind.
Side Ops #78 – Eliminate – Heavy Infantry 13
Side Ops mission #78 takes place near an outpost.
There are 8 heavy infantry soldiers that need to go bye-bye this time. They are wandering outside the building. Yet, don’t go willy nilly and start the encounter with them. There are normal soldiers tucked inside the outpost. You should clear the building first, and then focus on the heavy infantry guys.
Bring tons of explosives and high power weapons with you as their armor is thick as hell.
Side Ops #79 – Eliminate – Heavy Infantry 14
The GGW team suggests that you let Quiet tag along as she can do all the work for you.
You will have to fight 8 heavy infantry guys – hopefully, not all at once. They will all be located at guard post number 5. Infiltration will be somewhat difficult as they are positioned all around the post.
The best way to infiltrate the area is from the west side of the post. Get close to the CFA tents and start subduing guards one by one. Bait them near the tent – let them come to you, don’t let Big Boss go after them.
When things get tough, give the order so Quiet can smash their heads in. Also, take care of her as she will get all the attention. Throw grenades here and there and be sure she doesn’t get injured.
Side Ops #80 – Eliminate – Heavy Infantry 15
There’s nothing special about this mission. It will take place at an outpost, there are a few normal soldiers around, and some heavy infantry soldiers as well.
Bring explosives and Quiet along and you shouldn’t encounter any issues. If you want to spice things up, get the launcher, like the Grom one, and you can one shot infantry.
Side Ops #81 – Eliminate – Heavy Infantry 16
This is the final heavy infantry mission. Congrats on getting so far.
The GGW team suggests you let Quiet tag along as she can do most of the work for you.
The final mission has 8 heavy infantry soldiers stationed at guard post number 1. They are spread across the area, and you’ll find an additional four more soldiers just sitting around.
If you don’t want to bring Quiet, then you’ll have to be on your best stealth behaviour. Start with the house at the top of the zone and make your way to the bottom.
If you did bring Quiet to your last heavy infantry Side Op, then you’re a smart gamer. Let her start shooting right and left, while you have her back by tossing grenades all over the place. But, first, you should let Quiet scout the area and mark targets.
Once she starts killing people, the normal infantry will try to flush her out using mortars, grenades or simply rushing her position. Snake should eliminate them as soon as possible.
Side Ops #82 – Make Contact with Emmerich
This Side Op can be started only after Snake completes the missions between Missions 7 and 10, passes through the Aabe Shipaf Ruins and triggers Mission 11 – the battle with Quiet.
After the battle with Quiet is concluded, then Ocelot will tell Snake to head to Afghanistan in order to start the Emmerich Side Op.
This Side Op just needs the player to get inside the Serak Power Plant and head to the back of it.
Take the western route and sneak your way through that entrance. You’ll have to kiss the ground so alerts won’t be raised. There’s a metal fence that you have to jump at one point – stay prone, and check if the guards are focusing on the metal fence. When the coast is clear, jump and make your way to the stairway that leads to the office building.
There are a few guards above that will probably notice Snake, so it’s best to stick to walls and go as low as you can. Don’t go inside the building. Guards will come out to smoke and they might notice you.
Instead wait for them to finish their cancer-puff and make your way to the red doorway.
After this Side Op is completed, Mission 12 is triggered.
Side Ops #83 – Mine Clearing 01
The GGW team suggests to bring D-Dog along as his canine abilities can detect land mines.
This will be your first land mine mission in the game! There will be 7 land mines in the area. All of them are placed in sand dunes south of the Da Shago Kallai zone.
There are two ways to clear the sand dunes. You either grab them or shoot them.
- Grab Them: All of the mines have words engraved on them. Front and Back. If Snake decides to approach a mine in order to neutralize it, and he sees the word Back on it, he should approach from the back. Take your binoculars out and see which side that particular mine is facing before you start grabbing everything in sight. Made a mistake? Then it’s BAH-BOOM!
- Shoot Them: This means you’re going to be subtle as a rock. It’s not as stressful, but shooting mines with enemies around is not a good idea, as they will hear the noise and come to see what the fuss is all about.
Don’t forget, you can mark mines on the iDroid so you don’t clumsily walk over one.
Side Ops #84 – Mine Clearing 02
The GGW team suggests to bring D-Dog along as his canine abilities can detect land mines.
These land mines – seven in total; will be located west of guard post number 15. Follow our tips and tricks from Side Op #83 and you shouldn’t encounter any problems.
Side Ops #85 – Mine Clearing 03
The GGW team suggests to bring D-Dog along as his canine abilities can detect land mines.
These land mines – eight in total; will be located southwest of the Mfinda Oilfield. Follow our tips and tricks from Side Op #83, and there shouldn’t be any problems.
Side Ops #86 – Mine Clearing 04
The GGW team suggests to bring D-Dog along as his canine abilities can detect land mines.
These land mines – eight in total; will be located south of guard post number 14. Whatever you do, don’t shoot the mines as there is a huge army of soldiers that patrols the area near guard post number 14. If a mine goes off, then they will come rushing to your position and you don’t want to waste time by killing them off one by one.
Just stay prone, and follow our tips and tricks from Side Ops #83 and you’ll be able to finish this mission without incidents.
Side Ops #87 – Mine Clearing 05
The GGW team suggests to bring D-Dog along as his canine abilities can detect land mines.
These land mines – nine in total; are located between guard post number 16 and guard post number 20, in a valley.
Don’t shoot the mines as the loud noises can alert the infantry stationed at guard post number 20. Instead, grab each mine like we told you at Side Op #83.
Side Ops #88 – Mine Clearing 06
The GGW team suggests to bring D-Dog along as his canine abilities can detect land mines.
These land mines – nine in total; are located near an outpost. You won’t find them across the road, instead, they are all bundled together on a hill. We recommend you take out the outpost first or else the infantry will hear the noise and rush your position.
Side Ops #89 – Mine Clearing 07
The GGW team suggests that you should do this one at night as the red light of the mines becomes more visible. There are soldiers nearby, but you can easily grab them as we explained back at Side Op #83.
Side Ops #90 – Mine Clearing 08
The GGW team suggests that you should start Side Op #90 at night because the red light of the mines will make them more visible.
These mines will be found in three locations. If you go east of the outpost, you’ll find them. One group of mines can be found at the edge of the post, and they are set there to protect the storage units. Another little group can be found east, just up the hill.
The last group can be located close to the peak of the hill if you go even further east.
Side Ops #91 – Mine Clearing 09
The GGW team suggests that you should take on Side Op #91 at night because the red light of the mines will make them more visible.
The land mines will be found around desolate buildings.There’s nobody in sight, but patrols are known to wander that area from time to time.
Side Ops #92 – Mine Clearing 10
This is the last mine clearing Side Op. You’ll have to travel to Lufwa Valley, south of the Code Talkers mansion. Go across the south-west bridge and you’ll find a tent. Surrounding it, there are mines. Circle the tent a couple of times and you’ll have all the mines cleared.
There’s no need to bring D-Dog with you. However, you might want to do it at night because the red light of the mines will make them more visible.
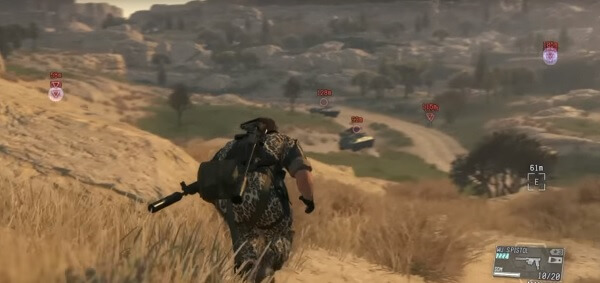
Side Ops #93 – Eliminate – Armored Vehicle Unit 01
You should consider taking D-Dog along as he can sniff out enemy and target positions. Or, let Quiet tag along as she can do most of the work for you.
You’ll encounter five enemies. Four foot soldiers and the armored vehicle itself. They are all stationed on a hill north of the Yakho Oboo outpost.
Two soldiers are patrolling the area, and the other two are keeping the vehicle safe.
If Quiet is with you, let her eliminate the infantry that keeps a watch on the vehicle, while you go an subdue the patrolling duo.
Take the armored vehicle when the coast is clear to complete the Side Op.
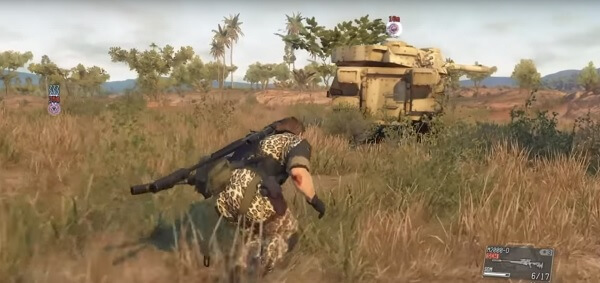
Side Ops #94 – Eliminate – Armored Vehicle Unit 02
Considering taking DD for this Side Op as he is the best at sniffing out enemies and targets.
You’ll encounter seven enemies. Six foot soldiers and the armored vehicle itself. Once you arrived to Spugmay Keep, keep travelling on the southern road that leads to Da Shago Kallai and you’ll find the unit.
Four soldiers are walking in front of the vehicle, and the other two are south of it.
Start with the two southies. Subdue them and wait for the other four guards to wander in your area. Neutralize them one by one and Fulton the vehicle to your Mother Base.
Side Ops #95 – Eliminate – Armored Vehicle Unit 03
The GGW suggest to bring Quiet this time around. Enemies are spread across the area and once they are marked, she can take them down one by one.
You’ll encounter eight enemies. Six soldiers and two armored vehicles.
The vehicles will be found stationed down the road. Beware, there are two snipers nearby that are guarding the vehicles and two foot soldiers are wandering around, in the middle of the area.
Start with the snipers – they are located on the sides of the area, opposite from each other. Or, you can let Quiet take care of them.
There’s no need to meddle with the foot soldiers as you can sneak to the vehicles and Fulton them without anyone noticing. However, if you do need to bolster your ranks, check their stats, and if you find anyone juicy enough extract him to your Mother Base.
Side Ops #96 – Eliminate – Armored Vehicle Unit 04
You can either bring DD or Quiet along. I prefer Quiet as she can take care of the nasty soldiers quite quickly.
You will encounter eight enemies this time around. There are six soldiers, one vehicle and a nasty sniper.
Like always, take care of the Sniper. He keeps a watch over the armored vehicle. He has two buddies behind him. There are four other soldiers that patrol the perimeter but there’s no need to engage them.
After you’ve dealt with the sniper and his friends, approach the armored vehicle and Fulton it to your Mother Base.
If you want to, you can Stun Arm blast the remaining four soldiers – only if it’s level 3.
Side Ops #97 – Eliminate – Armored Vehicle Unit 05
Quiet is the best companion to bring on this Side Op. She can take care of your enemies really fast.
This Side Op will make you travel to the west of the Ditadi Village. You’ll encounter a total of eight enemies. That is, two snipers, two vehicles and four soldiers.
Vanquish the snipers first, and their buddies. They are the ones that keep a constant watch over the tanks. Fulton the vehicles to your Mother Base, and if you’re feeling particularly bloodthirsty, let Quiet kill the rest of the soldiers.
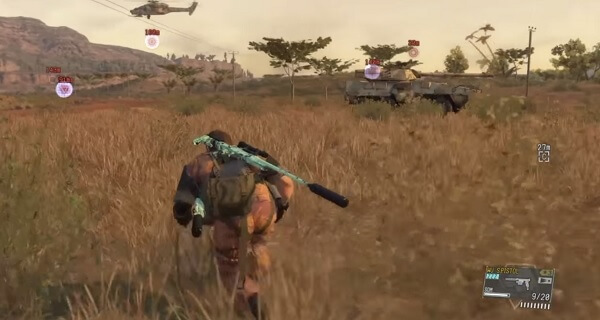
Side Ops #98 – Eliminate – Armored Vehicle Unit 06
The GGW team recommends that you first clear an outpost before taking this Side Op on. We are talking about guard post number 20. Side Op #98 takes place just near it, between the post and Munoko Ya Nioka.
There are a ton of reinforcements that can be called if something goes wrong – and trust me, it will. Ensuring that guard post number 20 is a ghost town is the best choice. This means no more pesky reinforcements to deal with.
Consider bringing DD along as he can sniff out enemies.
After you have successfully cleared guard post number 20, you’ll have to destroy a gunship. Be sure to take the CGM Rocket launcher so you one shot that SOB.
You’ll be encountering a total of nine enemies. The aforementioned gunship, six soldiers, with one of them being a sniper, and two vehicles.
Upon the gunship’s destruction, the small army will become frenzied and they will scatter. Make sure you immediately find a place to hide until they calm themselves down. While soldiers are searching for your location, they will leave the armored vehicles unprotected. Sneak your way to their position and Fulton them out of there.
There’s no need to kill the remaining enemies, but you can easily do so.
Side Ops #99 – Eliminate – Armored Vehicle Unit 07
Go to the south of the airport to meet with the lucky soldiers that will face death. Death, as in you. Also, don’t forget to bring the CGM Rocket launcher as there’s a gunship that needs a good missile to the face.
There are nine enemies that you’ll be encountering in this Side Op. Two vehicles, one annoying gunship, three soldiers and three snipers.
After you’ve destroyed the gunship, everybody is going to come looking for the man who did the deed. Soldiers will be focused on the road, thus Big Boss can easily sneak to the un-guarded armored vehicles and Fulton them to the Mother Base. The soldiers won’t notice as they are too preoccupied with who destroyed their gunship.
You can start by neutralizing the snipers first, and then the rest of the soldiers. Got Stun Arm level 3? Use it to end their lives in a quick but gruesome manner.
Side Ops #100 – Eliminate – Armored Vehicle Unit 08
Go to the south of Da Ghwandai Kar, and you’ll find the group. Big Boss will have to get rid of eight enemies this time. Four soldiers, three pesky snipers and one vehicle.
If you spawn to the south of the location, you’ll be avoiding the snipers completely. You can easily sneak up on them by traversing the small hill. Afterwards, use your Stun Arm level 3 blast to get rid of the remaining soldiers.
With everybody either sleeping or being busy with death, you can Fulton the armored vehicle.