
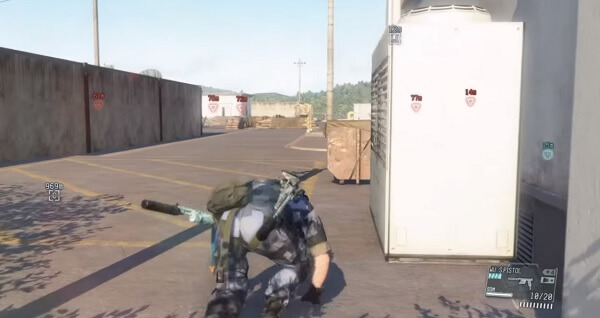
In this Metal Gear Solid 5 Walkthrough Side Ops we’ll be discussing the remaining tank units that need to be eliminated, the wandering puppets that need to be removed, one extraction mission, and the search for the lost children. Moreover, you’ll learn how to secure Quiet successfully and target practice missions.
These are the last Side Ops in The Phantom Pain. If you don’t know what the Phantom Pain is, we highly recommend taking a look at our game review. If you fancy it, why not buying it? Never pay full price for a video game ever again with our Game Deals and Promo Codes page.
For more Side Ops tutorials, check our previous articles:
- Metal Gear Solid 5 Walkthrough Side Ops – 1 to 25
- Metal Gear Solid 5 Walkthrough Side Ops – 26 to 50
- Metal Gear Solid 5 Walkthrough Side Ops – 51 to 75
- Metal Gear Solid 5 Walkthrough Side Ops – 76 to 100
- Metal Gear Solid 5 Walkthrough Side Ops – 101 to 125
The Phantom Pain Side Ops Guide 126-157
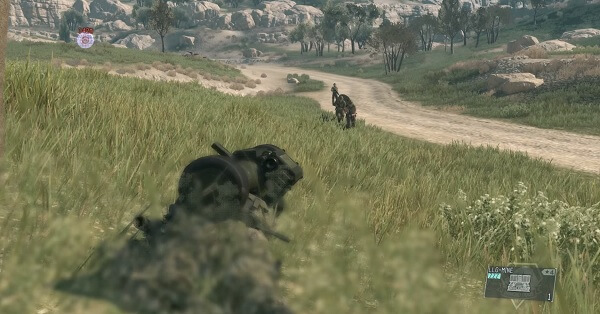
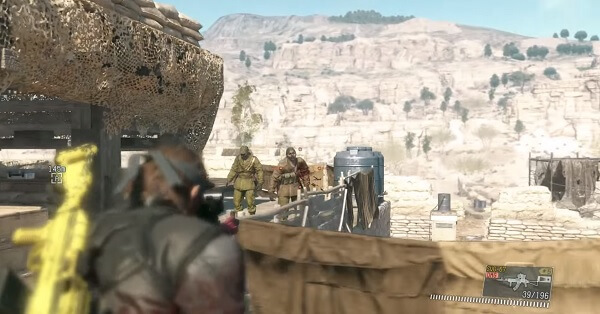
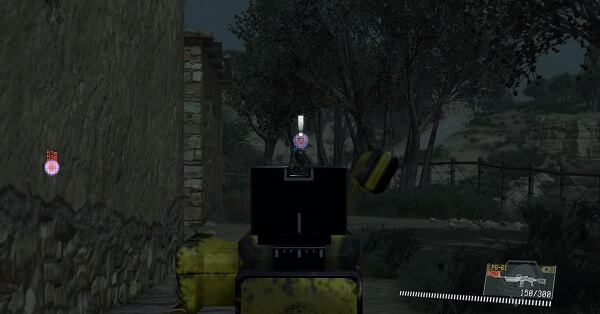
#126 – Eliminate – The Tank Unit 13
Take D-Dog along as he can sniff out the tank unit’s position.
This tank unit is located right to the south of the Nova Braga Airport. Don’t start the encounter before shooting the gunship first with a powerful rocket launcher. Afterward, remove yourself from the area and go into hiding mode for a few minutes as the enemy sniper will scan the area to find your location.
You’ll be dealing with two tanks, three soldiers and three snipers. Each soldier is paired with one sniper.
Snipers won’t be keeping a watch over the two tanks. Their number one priority is to find and eliminate Snake. This gives the player an immense opportunity to sneak behind each of the sniper/soldier duo and neutralize them.
#127 – Eliminate – The Tank Unit 14
Take D-Dog along as he can sniff out the tank unit’s position.
This Side Op is almost the same as Side Ops #95, but with far more enemies. There’s a gunship hovering around the area. Therefore, it’s best for you to destroy it with a powerful rocket launcher before starting the event. Take heed, as it will take a collection of two CGM rockets to fully destroy the gunship. So don’t switch weapons after the first shot.
In this mission, you’ll find two tanks, three patrolling soldiers, and three snipers.
As usual, immediately as the gunship blows up, run for cover. Take a few minutes and then come out of hiding. Take to the hills to neutralize the snipers first. They will be spread across the entire area, so it’s best if you bring DD along.
Once snipers are dealt with, take to the tanks and Fulton them to your Mother Base.
To end the Side Op, use your Stun Arm level 3 to blast the remaining infantry to smithereens. Extract whoever you find useful and kill the rest.
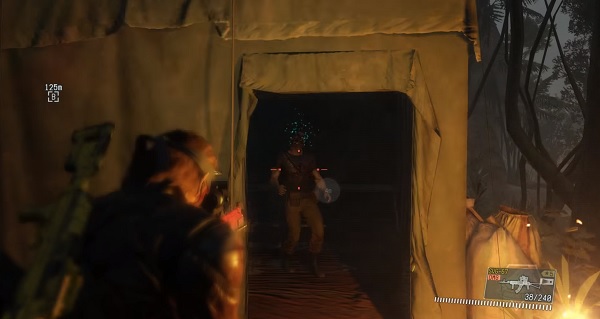
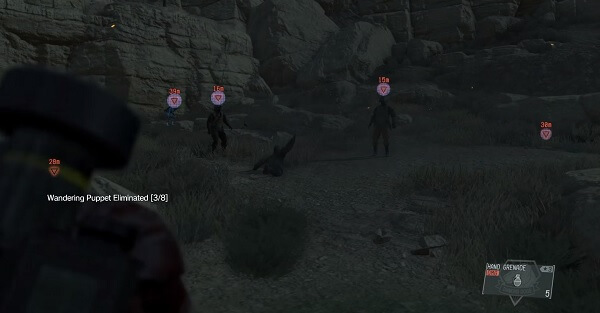
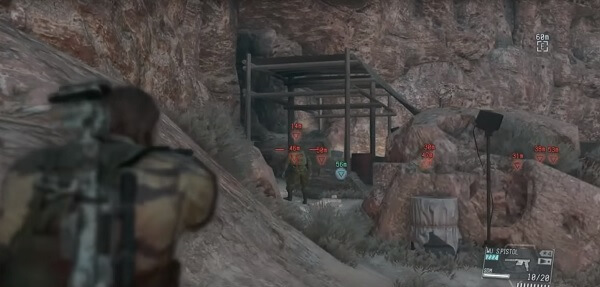
#128 – Eliminate – The Wandering Puppets 01
Take D-Dog along as he can sniff out the precise location of the puppets in the area. However, you can take Quiet if you don’t plan on doing all the hard work. Just be sure to equip her with the Guilty Butterfly.
We recommend you do some pre-mission recon and obliterate the Anti-Air Radar found at Yakho Oboo. Why? So you can spawn and start the mission from there.
All of the puppets can be found inside the outpost.
You can either lure them out one by one or get close and personal and rip them a new one. If you brought Quiet along, then she can start neutralizing as soon as you bait them outside.
Puppets have some pretty juicy stats, so it’s best to take a look at them and consider extracting some to your Mother Base. However, not all of them are worthy.
#129 – Eliminate – The Wandering Puppets 02
Bring either DD or Quiet along. Both are great companions for The Wandering Puppets Side Ops.
Do some pre-mission recon and take care of Nova Braga Airport’s Anti-Air Radar so you can start the mission from there.
All of the wandering puppets can be found deep inside the airport. Quiet won’t be able to mark them if you order her to scout the area, but as soon as she gets into sniping position, she’ll be able to ID them.
We recommend you take a strong weapon and a few tranquilizers. That is, if you didn’t bring Quiet along. If you did, then you can just lure the puppets outside and let her do all the hard work.
Quiet will also take care of all the puppets that are thrown out the window – a swift bullet to the head does the trick. However, there are a few puppets worth looking into. As in, they have quite the stats, and they can bolster your Mother Base ranks.
#130 – Eliminate – The Wandering Puppets 03
Let Quiet tag along if you don’t plan on doing any heavy lifting. You can also bring DD instead if you want to find the puppets in the area immediately.
Do some pre-mission recon and destroy the Anti-Air Radar found at the Da Shago Kallai area. It’s the best location from which to start your mission.
Puppets will be wandering outside and inside the building. Quiet can’t see them if she scouts the area. As soon as she gets into her sniping position, she’ll be able to successfully ID them.
Take a powerful weapon and a couple of tranquilizers if you want to feel like you’re playing. If not, let Quiet stain her hands with blood. Just lure the puppets outside and knock them out one by one.
#131 – Eliminate – The Wandering Puppets 04
If you bring Quiet along and you equip her with the Sinful Butterfly, she’ll be a terrific ally. DD is awesome, as well, but you don’t really need him as the puppets can be found quite easily.
Just deploy to the north of the Ngumba area, and make your way to the south, and up the hill. All of your targets will be patrolling the upper hill area that leads towards the Ngumba Industrial Zone.
They have spread far apart from each other, thus making it super easy to neutralize them without losing a limb.
If you brought Quiet along, position her on top of the hill to have the best vantage point.
The majority of the puppets will be wearing helmets. Therefore, you’ll have to remove them with the use of CQC if you want Quiet to snipe their heads off.
To be frank, all of the puppets have extraordinary stats, so it’s best if you extract all of them. In case a puppet doesn’t pass your rigorous standard, let him be eaten by wolves.
#132 – Eliminate – The Wandering Puppets 05

Take DD along if you don’t want to go looking for the puppets, or bring Quiet with you to snipe their heads off.
We recommend you do some pre-mission recon and take care of the Anti-Air Radar at the Lamar Khaate Palace. It’s best if you start the mission from that landing zone.
You’ll find the puppets wandering like imbeciles inside the seemingly abandoned palace. Neutralize them with non-lethal weapons. They have great stats and they need to be extracted to the Mother Base. Sure, not all of them are worth the trouble.
Inside the palace, you’ll find an open hole right near the stairway. There, you can perform a swift combo that’ll knock them down, instantly killing the puppets.
#133 – Eliminate – The Wandering Puppets 06
For the first time, we recommend you take D-Walker as he has some pretty sweet weapons that you can use. If D-Walker is not available, take DD to find the puppets quicker.
Choose to spawn at the Serak Power Plant landing zone. This is because the puppets in that area won’t shoot to kill. Actually, they won’t bother you with anything.
All of the puppets can be found inside the two-story building. Some of them can be found outside the front door The majority of your targets will be crowded inside the main office.
Stay outside with your D-Walker, if you brought him along, and neutralize the puppets. The inside targets will eventually come to you, so there’s no need to go inside.
Extract whoever you deem worthy to bolster your Mother Base ranks and vanquish the rest.
#134 – Eliminate – The Wandering Puppets 07
Quiet can do the majority of work for you, and D-Dog can find your targets quite fast.
We recommend you do some pre-mission recon and destroy Da Ghwandai Kar’s Anti-Air Radar. It’s recommended you start the mission from that landing zone.
You’ll find the puppets wandering in the middle of the village. Some are slithering outside, while the rest are huddled up indoors.
Quiet can scout the outpost, but she won’t find any targets if she doesn’t use the Sonar to mark them.
Just lure the puppets outside and let Quiet do the killing.
#135 – Eliminate – The Wandering Puppets 08

DD is the perfect companion candidate for this Side Op, as he can sniff out all of the puppets’ locations.
You’ll find the puppets aimlessly patrolling the inside of the Lufwa Valley Mansion. We recommend you taking a strong weapon with you and more than a few tranquilizers as puppets can easily overwhelm Snake.
Go guns blazing using the front entrance, and you’ll find the first couple of puppets.
Take the stairs and subdue each puppet you encounter. Do so quickly, because they come in waves. There’s a risk of them ganging up on you, so be careful.
Extract the puppets who have fat stats, and leave the rest to rot.
#136 – Eliminate – The Wandering Puppets 09
Quiet is the best companion for this Side Op, as she can do the bulk of the work for you – and there’s a ton of stuff to do this time around.
Spawn at the northeast area of the Da Wialo village – it’s the same place you had to go to extract the lost sheep during the #47 Side Op.
You’ll have to neutralize seven puppets, and Quiet can help you greatly. You see, the majority of puppets are wearing heavy head gear. It’s best if you sneak and use CQC to remove their helmets so Quiet can land a successful headshot.
It’s going to take a while to neutralize all of them, but it’s worth it.
#137 – Eliminate – The Wandering Puppets 10
Quiet can do all the heavy lifting, while you sit back and relax. However, D-Dog can find your targets. They are well dug deep inside the forest.
There will be eight puppets that need to experience your personal touch. They can be found wandering inside the forest west of the #4 guard post.
All of the puppets are pretty far apart from each other. Thus, you can easily subdue them one by one without worrying if a target will be sneaking up from behind.
Quiet can rain hellfire from above. However, we recommend you ordering her to switch to Tranqs as the puppets are worth extracting to your base.
#138 – Eliminate – The Wandering Puppets 11
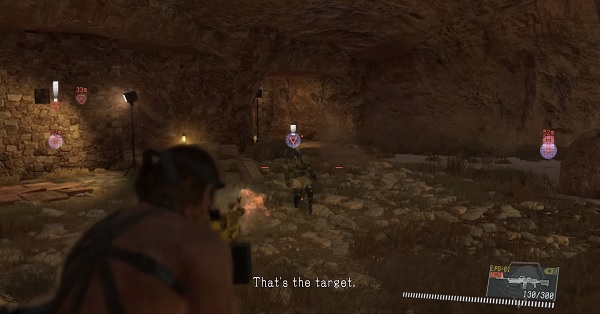
DD can sniff out your target’s location. Therefore, it’s best to bring him with you this time around.
There will be eight puppets that need to be removed in this Side Op. They are all just wandering around the inner caves of the Da Smasei Laman. Remember Mission 6 where you found the Honey Bee? It’s the exact same inner cave.
Quiet can’t join you inside the cave – either she has some sort of phobia, or she loves them too much. Bring DD, some Tranqs, and a ton of explosives.
#139 – Eliminate – The Wandering Puppets 12
Quiet is the best choice if you’re feeling particularly lazy for this Side Op.
Do some pre-mission recon and destroy the Anti-Air Radar at Qarya Sakhra Ee. It’s the best landing zone to start your mission from.
All of the puppets will be found wandering at the center of the village. They are mostly out in the open, with just a few exceptions huddled indoors.
Bait them so they can get into Quiet’s line of sight. Let her neutralize them.
#140 – Eliminate – The Wandering Puppets 13
DD can sniff out your target’s location. Thus, it’s best to bring him with you this time around.
There will be eight puppets that you need to neutralize in this Side Op. All of them are wandering the area between the Lufwa Valley Mansion and the Kungenga Mines. It’s a jungle area, but they can be found quite easily. More so if you bring DD along.
#141 – Eliminate – The Wandering Puppets 14

Let Quiet tag along. Equip her with the awesome Guilty Butterfly to make her most efficient. Or, if you don’t feel like procrastinating at all, bring DD to find your targets.
We recommend you do some pre-mission recon and destroy Bampeve Plantation’s Anti-Air Radar. It’s the best landing zone to start your mission from.
Your targets can be found wandering the northern area of the outpost.
Don’t fight them in close quarters as they can easily gang up on you. Instead, lure them out into the open. Afterwards, neutralize them with the help of your Tranqs or Stun Arm level 3.
There will be some puppets wearing heavy infantry armor. Use CQC to knock their thick helmets off so Quiet can land bullets. If you don’t do so, then her snipes will be completely useless.
#142 – Eliminate – The Wandering Puppets 15
Quiet is the best companion choice for this Side Op.
All of the puppets can be found wandering in the middle of Bwala ya Masa, near the wrecked ship. If you bring Quiet with you, order her to scout the area so she can ID the targets.
Each and every one of the puppets is wearing heavy infantry armor and head gear. It’s best to knock their helmets off before ordering Quiet to rain hellfire upon them.
Stand back and watch how they fall when Quiet gets the greenlight.
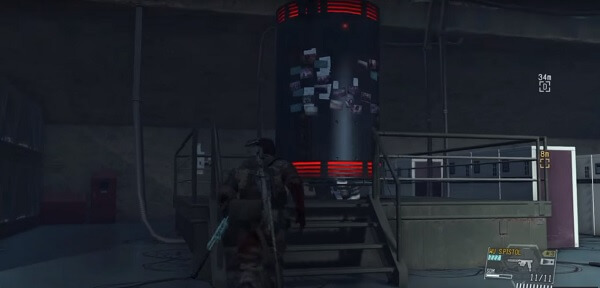
#143 – Extract – The AI Pod
This Side Op can be started only after you complete Mission 34.
DD is your best companion choice for this Side Op. He can sniff out the guards that are located near the silo.
You can find this AI pod deep inside the central silo at the Afghanistan Base Camp. It’s well-guarded, and we recommend you pack a suppressed Sniper Rifle.
We also recommend you spawn to the north of the Afghanistan Base Camp. You can easily infiltrate the area from that position. The first enemy that you’ll encounter is located on a rooftop near the CFA tents. Just use a tranquilizer on him.
You’ll eventually make your way to three doors. The ones on the left and right side are guarded. However, the most northern doorway isn’t. Take the easy path and then walk towards the computer in the center of the building. It will trigger a cutscene.
The silo can’t be accessed if the base is on alert, so keep to yourself. When the cutscene ends, the mission will be completed.
After the mission is over, if you head to the main deck of the R&D Platform located underneath the Sahelanthropus, you’ll find the AI pod. Each time Snake nears the platform, you can hear an audio clip loop of the female Boss.
If you want the AI pod to say something else, just shoot it with a non-lethal weapon that has the ability to pierce glass.
#144 – Secure – The Remains of the Man on Fire
This Side Op can be started only after you complete Side Op #143.
We recommend you let Quiet tag along. Equip her with the awesome Sinful Butterfly.
The remains of the Man on Fire can be found inside the Supply Outpost at Yakhoo Oboo. The corpse is well-guarded by 12 soldiers .They like to wander around the area.
We recommend you spawn to the north of the outpost and make your way to the top of the hill above it. From that vantage point, you can mark all of your foes and order Quiet to dispose of your enemies. However, you can’t sit back and enjoy the show. Toss some grenades here and there and provide backup for Quite. This way, she won’t get overwhelmed.
When the outpost is clear, extract the corpse to your Mother Base to complete the mission.
The remains will be placed in a cell on the Mother Base, at the Quarantine Platform.
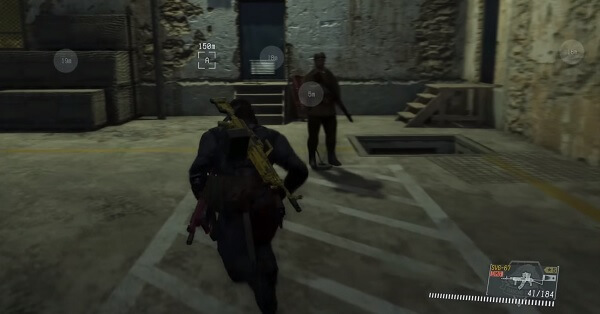
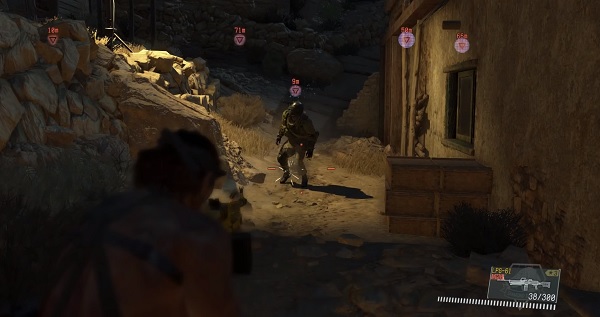
#145 – Search – Escaped Children 01
We recommend you bring DD along. He’s the best at finding people.
The first lost child that you need to rescue is located in the southeastern office building in the Mfinda Oilfield region. There’s just one soldier guarding the front door. Oh, and a pesky gunship that circles the building.
Climb over the wall on the south east side to infiltrate the area. Take to the containers and make your way from there. Afterwards, neutralize the guardian inside the building.
You don’t need to destroy the gunship. However, you do have to be careful, so it won’t spot you while you climb the wall.
Extract the boy when the gunship is patrolling the opposite area. The mission is now completed.
#146 – Search – Escaped Children 02
We recommend you bring DD along. He’s the best at finding people.
The second child is helpd captive inside the Lufwa Valley Mansion, on the 2nd floor. There are 15 soldiers guarding the boy. However, there’s a simple and effective way to subdue the majority of them with just one attack.
Don’t go guns blazing because you’ll most likely die within minutes. Instead, take the more dastardly path – sneak underneath the mansion and stop when you see the waterfall.
Use your Stun Arm level 3 to blast the waterfall stream. Most guards are within 45 meters of the water flow, but you better make sure first. The blast will stun everyone inside the mansion, except the guards that are outside. However, they won’t notice that something has gone terribly wrong for a minute or two.
Immediately head to the second floor and extract the lost boy. You don’t need to deal with the remaining soldiers to complete the mission.
#147 – Search – Escaped Children 03
We recommend you bring DD along. He’s the best at finding people.
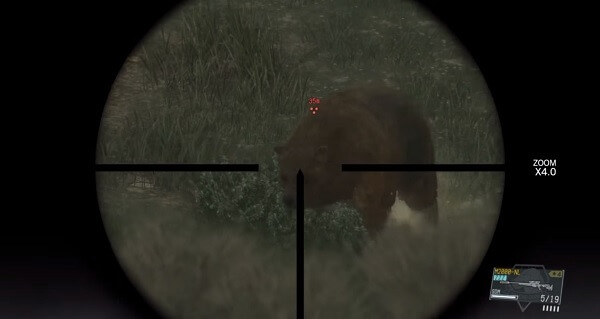
The third lost child isn’t held captive per se. He can be found at the south eastern tower of the Aabe Shipaf Ruins. Oddly enough, there are two brown bears that are guarding the boy against all dangers.
You can get to the boy fast without murdering everything in your way. Head to the crack on the rear of the tower and climb it. Once you are at the top, extract the boy and the two bears for some extra money.
#148 – Search – Escaped Children 04
We recommend you bring DD along. He’s the best at finding people.
This lost child can be found on the 3rd floor of the Lamar Khaate Palace. There aren’t that many guards. This doesn’t mean they are few in number. Infiltrating the Khaate Palace is a little bit challenging, but not impossible.
Soldiers are scattered across the building. Therefore, there’s no need to use a Stun Arm level 3 blast.
Make your way to the southern section of the palace. You’ll find the boy near a ledge. Extract him to complete the mission.
#149 – Search – Escaped Children 05
We recommend you bring DD along. He’s the best at finding people.
The fifth and last child that needs rescuing can be found in the upper caves of Da Smasei Laman. We recommend that you first destroy the Anti-Air Radar at Da Smasei so you can start the mission from there.
There are 8 puppet soldiers guarding the lost boy.
Stick to the ground and infiltrate the caves. The puppet soldiers can be easily sneaked upon. Neutralize them one by one. Afterwards, extract the lost boy to complete the mission.
Puppet soldiers have some pretty juicy stats. This is why I recommend you taking what you like and toss the rest off of the cliff. With the area clear of enemies, search for resources without worrying that somebody will put a bullet in your head.
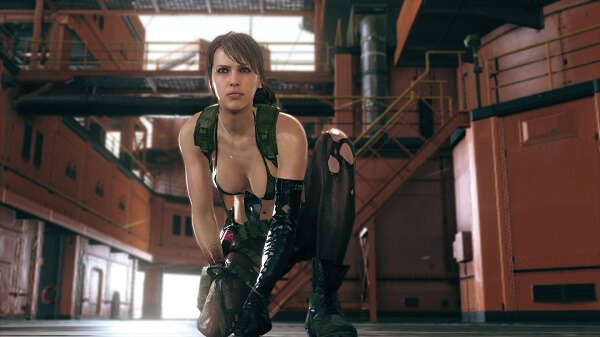
#150 – Secure Quiet
Upon completion of this Side Op, Mission 45 will be triggered. Be fully prepared and pack a lot of Tranqs, a suppressed rifle, Stun Arm level 3, grenades, and a rocket launcher.
In order to start the Secure Quiet Side Op, you need the following requirements:
- Make sure Quiet is available, and not recuperating.
- Your Bond with Quiet is maxed out.
- You have seen the Mother Base cutscene where a scientist is exiled.
- You do not use the Butterfly design in your emblem.
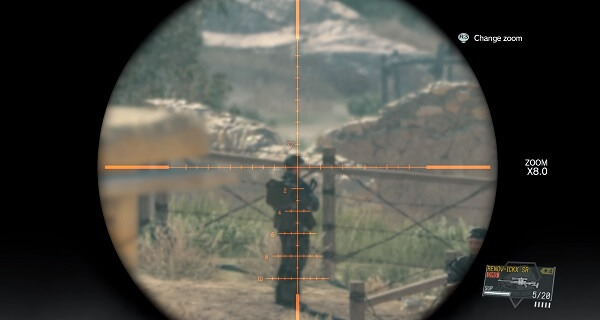
This Side Op is quite easy, as it tasks you with retrieving an intel file from inside a house. The house in question can be found by going to the guard post to the east of the Aabe Shifap Ruins.
#151 – Target Practice – Command Platform
Approximately all of the targets can be found in front of you. However, there are a few targets that are located on the top of the Command Platform. Take to the helipad to find them.
Your last set of targets can be found just below the platform. There’s no need to head to them, as they are visible from the top. Shoot them all to complete the mission.
#152 – Target Practice – R&D Platform
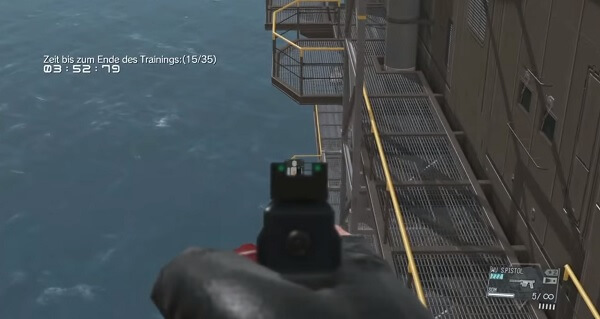
This is the toughest target practice mission, as the targets are frustrating, to say the least. They are scattered across the R&D Platform – from inner stairways to outer pipes.
Make some practice runs first. Get to know the R&D Platform beforehand. As a word of advice, by the time you reach the ground level, you should have found 31 targets. If not, there are still targets remaining on the outer pipes and/or upper stairways.
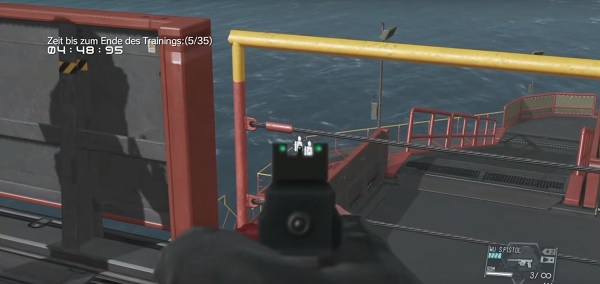
#153 – Target Practice – Support Unit Platform
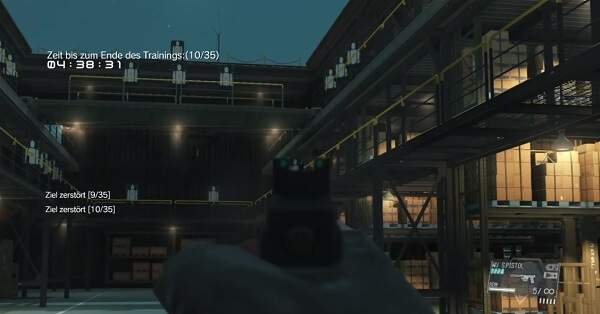
All of the targets can be found in the middle of the Support Platform. There are 35 targets, with the first 32 all within your line of sight. The remaining three can be found at the back of the first warehouse floor.
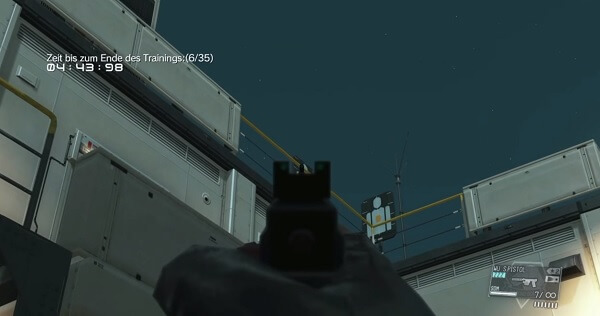
#154 – Target Practice – Base Development Platform
Targets are scattered across the Base Development Platform, but you can find them easily. There’s a crumb trail that you can follow. However, you should note that there are a few targets placed on the metal watchtower. Make sure you don’t run past them.
The final two targets are positioned near the bottom stairway, on the left side. If you’re going too fast, you might miss them completely.
#155 – Target Practice – Intel Team Platform
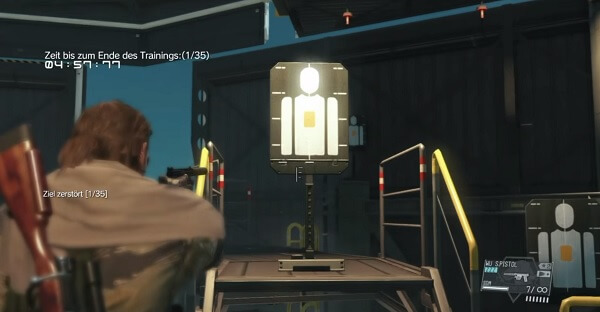
This is one of the easiest target practice Side Ops. All of the targets can be found from top-to-bottom. Start with the top floor and make your way down the stairways.
The remaining six targets can be found on the bottom floor. When you reach ground level, you should have 29 targets. If not, it means that you have missed a few.
#156 – Target Practice – Medical Platform
All of the targets can be found at the start position. Stick to your location, and shoot all of the targets.
There are three floors that you need to check.
Also, the last three targets can be found near the exit.
#157 – Target Practice – Combat Unit Platform
All of the targets are one after another. Therefore, they are not that hard to miss. However, there are a few that are positioned on the metal watchtowers across the platform.
Shoot all of them plus both targets on the watchtowers to successfully complete the mission.
Final Word
This is the end of our Metal Gear Solid 5 Walkthrough Side Ops. This game is beautiful and it can adapt to a laid-back strategy. However, you can do it the hard way by being less reliable on your in-game AI partners. These being said, enjoy your time and have some quality time with Metal Gear Solid 5!
Image Source: 1, and the others from Tikar and XLR8 Games.