
In this page, we’ll be discussing our Metal Gear Solid 5 Side Ops Guide – 51 through 75. We have 10 extract missions – the Wandering Mother Base Soldiers; five unlucky dogs and 10 heavy infantry removal missions.
Below, you’ll find links to our other Metal Gear Solid 5 Side Ops Guides. Fancy Metal Gear Solid V but don’t know what it is? Read our very own review to understand why we are so psyched about this awesome game. If you’ve fallen in love with MGS, exactly like we did, you can buy it off of Steam or Amazon right now, and don’t forget to check our Game Deals and Promo page for more awesome discounts on video-games.
- Metal Gear Solid 5 Side Ops Guide – 1 to 25
- Metal Gear Solid 5 Side Ops Guide – 26 to 50
- Metal Gear Solid 5 Side Ops Guide – 76 to 100
- Metal Gear Solid 5 Side Ops Guide – 101 to 125
- Metal Gear Solid 5 Side Ops Guide – 126 to 157
Metal Gear Solid 5 Side Ops 51-75

Side Ops #51 – Extract – The Wandering Mother Base Soldiers 01
This Side Op can be started after you have completed Mission 6 – Where Do The Bees Sleep.
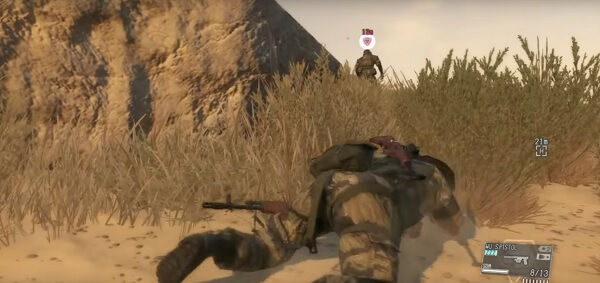
The first wandering MB soldier that you need to apprehend is codenamed Komodo Dragon. He can be found just at the top of the hill north of guard post number 20. He’ll be alone, waiting by some stones. If he spots you, he’ll immediately move to another position.
There are three ways that you can snatch him up:
- Use the Cardboard Box
The simplest, and most effective way to grab the wandering soldier is to use the cardboard box. The target will stop everything he’s doing and salute you. While he salutes, you have the perfect chance to subdue and extract him out of there.
- Use super stealth
If you can use super stealth to get to him and tranquillize his butt out of there, do it.
- Use the Love Deterrence cassette
Play the Love Deterrence cassette tape and the target will run towards your position. The Komodo Dragon can hear it from 100 meters away.
Note: As soon as you extract your first wandering Mother Base soldier, you’ll obtain a Memento Photo. This starts the Paz side quest, which tasks you with finding all of the 10 Memento Photos.
After you’ve completed the missions, go to the Medical Platform on your MB, go straight to the third floor and enter the blue door. This will prompt a cutscene that involves – Ocelot, Miller, Paz and Snake.
After it’s finished, leave and re-enter the room to show Paz the Memento Photos.
Side Ops #52 – Extract – The Wandering Mother Base Soldiers 02
We recommend to bring D-Dog along as he is the best at finding enemies and targets.
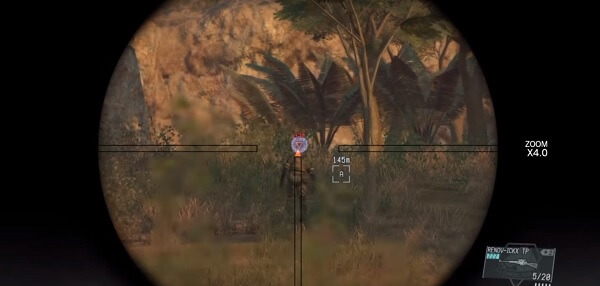
The second wandering Mother Base soldier that you need to apprehend can be found south-west of Da Shago Kallai, at a top of a hill. He is codenamed Jackal. You can easily subdue him by using either the Cardboard Box method we explained earlier, or the Love Deterrence tape.
After you have extracted the Jackal, you will unlock the 2nd of the Memento Photos that you need for the Paz side quest.
Side Ops #53 – Extract – The Wandering Mother Base Soldiers 03
We recommend to bring DD along as he is the best at finding enemies and targets.
This wandering Mother Base soldier is codenamed Parrot, and he can be found east of Bwala ya Masa, at the top of a hill. That is, straight in the middle of the blue missions circle on the map.
Exactly like before, you can neutralize him using the two strategies: Cardboard Box and Love Deterrence.
Fulton him out of there in order to finish Side Op #53 and gain another Memento Photo for the Paz side quest.
Side Ops #54 – Extract – The Wandering Mother Base Soldiers 04
Exactly like before, use the Cardboard Box to apprehend this MB soldier as well. He’ll stop and salute immediately as he recognizes Big Boss. Fulton him and this Side Op is finished.
Side Ops #55 – Extract – The Wandering Mother Base Soldiers 05
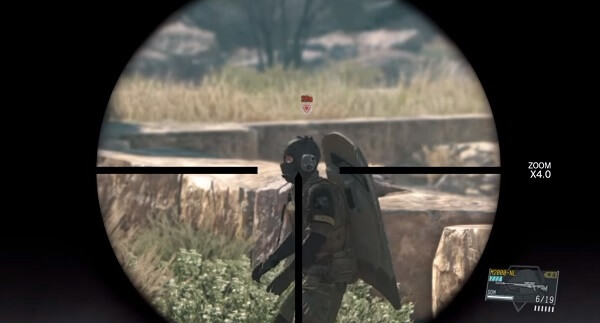
This wandering Mother Base soldier can be found inside the Kungenga Mine. His pattern resembles the one displayed by soldier 04, except this one has a shield protecting his back. We recommend you use the same exact strategies as before – either the Cardboard Box or the Love Deterrence song.
Pick up another Memento Photo after you’ve completed this Side Op for the Paz side quest.
Side Ops #56 – Extract – The Wandering Mother Base Soldiers 06
This lovely wandering Mother Base soldier isn’t that hard to find because he sticks out in the scenery. Yet, if he suspects that somebody is following him, he’ll use a cloaking mechanism and disappear for a few seconds. Afterwards, he’ll return to wandering the land.
We recommend you use the same two strategies as before: The Love Deterrence song or the Cardboard Box technique.
After you have completed this Side Op, you will be rewarded with another Memento Photo for the Paz side quest.
Side Ops #57 – Extract – The Wandering Mother Base Soldiers 07
The wandering Mother Base soldier #7 is a sneaky SOB. You’ll find him hiding under the bridge. He’s fairly easy to find, but he acts exactly like the last one. If he senses any danger, he’ll immediately cloak and run for the hills.
You can use the same two strategies as before: the Cardboard Box technique or the Love Deterrence song.
Take note, that if you do manage to tranquillize him from afar, you have to reach him immediately as he will drown. The rive isn’t as shallow as you think it is.
After you’ve completed this Side Op, you’ll be rewarded with another Memento Photo.
Side Ops #58 – Extract – The Wandering Mother Base Soldiers 08
This one is mean and cruel. If he spots you going after him, he’ll toss a variety of grenades while running for his life. You can use a long range weapon to Tranq snipe him, or the cardboard box. The Love Deterrence song is helpful, but I found it quite hard to pull off with all the grenades flying around.
Side Ops #59 – Extract – The Wandering Mother Base Soldiers 09
You’ll find this crazed and former ally of yours up in the hills, around the marked road. If he spots Big Boss coming after him, he’ll throw a flash bang or a smoke grenade at you, then he’ll run for safety.
Use the same old tricks that you have up your sleeve: the Cardboard box and the Love Deterrence song to subdue him. You’ll be rewarded with a Memento Photo after completing this Side Op.
Side Ops #60 – Extract – The Wandering Mother Base Soldiers 10
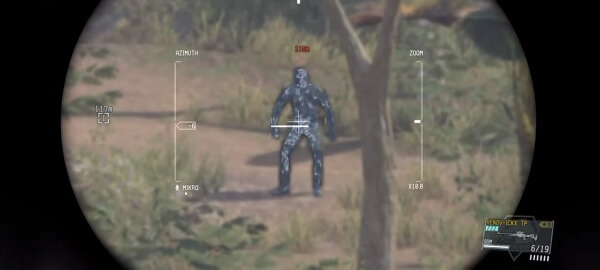
This is the last Mother Base crazed soldier that you need to apprehend. He is located at the same place where you first met the lovely, but deadly, Quiet. He’ll toss various grenades if he sees you, cloak and turn invisible for a short period of time, and run away.
He also has a shield on his back just to make things more interesting.
We recommend you either use the Cardboard Box strategy or tranq him with a rifle from a distance.
By successfully capturing the wandering Mother Base soldier #10, you’ll also be rewarded with the last of the Memento Photos.
Side Ops #61 – Unlucky Dog 01
This Side Op can be started only after you have completed Mission 6 – Where Do The Bees Sleep.
If you’ve finished Mission 10, then you know how to rescue the unlucky dog #1. He’s being held in the same place where you found those 2 prisoners.
He is guarded by 4 soldiers: with 2 of them sitting just outside the cell, one in front of it, and the other inside, with him.
We recommend you spawn to the north of Yakho Oboo. Afterwards, make your way to the hill that leads up to the outpost. Climb your way to the rooftop so you can have a better view of the guards. Use some tranqs to clear the room, and slam the door so you knock out the one sitting inside the cell.
Side Ops #62 – Unlucky Dog 02
This Side Op can be started only after you have completed Mission 7 – Red Brass.
This missions will have you rescue not one, but two unlucky dogs. Both will be found within a metal shed at the most northern area in the Da Smasei Laman area.
Go above the hill, just near the bunkers, and infiltrate the area from there – that’s the northern hidden path. Stick to the ground as close as you can, and crawl your way all up to the cave entrance. After, you’ll have to climb to the second story and move slowly to the metal shed.
There, you’ll meet a soldier. Subdue him and jump down on top of the metal shed.
There’s another one in front of the structure. Neutralize him too. Yet, don’t open the door to the shed. All the guards under the tent are looking straight at it, so it’s best to wait this out. They’ll eventually turn their backs – it won’t take long, trust me.
Get inside, take the targets and Fulton them to safety. If everything is done correctly, you won’t set off any alerts.
Side Ops #63 – Unlucky Dog 03
We recommend you bring D-Dog along as he is the best at locating enemies and targets. Or, let Quiet tag along, if you want to gaze at her beauty and not do any work.
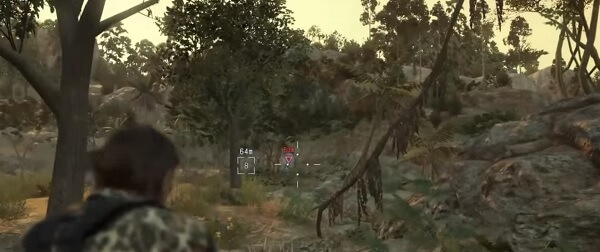
In this mission, you’ll have to rescue 2 unlucky dogs. Go to the Nova Braga Airport, as both targets will be located on rooftops.
For the first unlucky dog, you’ll have to go to the eastern district of the airport, exactly by the entrance. There’s a locked door near the entrance, infiltrate using that route and carefully crawl your way to the ladder that leads to the roof. There are guards that patrol around the building, but don’t worry about them, because they’re on the ground and will never come to the roof.
For the second unlucky dog, things get a little bit challenging. Why? Because he is guarded by several soldiers. They patrol the lower area, and have eyes on the rooftops as well.
The best path that Big Boss can take is through the northern area of the airport, near the destroyed airplane. You’ll have to find a metal stairway and climb it. Yet, don’t go willy nilly on the stairway. Check if the guards are looking away and only then march up.
Afterwards, you’ll have to climb up the ladder. It will lead to the second unlucky dog that needs extraction.
Side Ops #64 – Unlucky Dog 04

This Side Op is quite the challenge, as there are a ton of troops protecting the 2 unlucky dogs. Snake will have to snatch a couple of guards an interrogate them to find out the location of the hostages.
One is located to the north-west of the area, and the other to the south of the mansion. You can sneak past the troops, but it’s harder to sneak past the gunship that hovers above. Bring a rocket launcher to knock that bad boy from the sky if you want to complete this Side Op.
Side Ops #65 – Unlucky Dog 05
The hostages are held captive deep inside the base. There are two unlucky dogs that are in dire need of rescue. Interrogate some guards first in order to locate the prisoners.
Side Op #65 is tough because there are a ton of soldiers to get through. Your arsenal should be packed with silenced weapons. If you think this is a huge bore, you can always take explosives and other high-tech gear and just cut through them like butter.
Don’t waste time, as soldiers will call for reinforcements and you will find yourself overwhelmed.
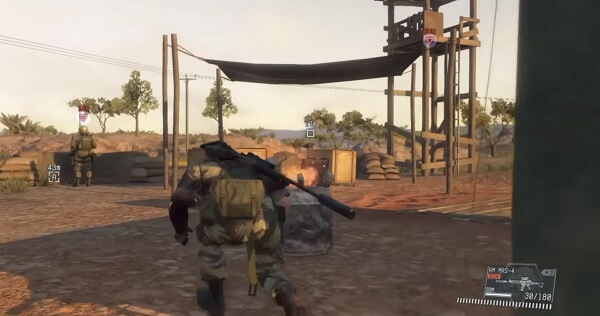
Side Ops #66 – Eliminate – Heavy Infantry 01
This Side Op can be started only after completing Mission 7 – Red Brass.
There are two heavy infantry guys that you need to remove from planet Earth. They are located at guard post number 12. They aren’t near each other, and you can use any stealth method you want to kill or knock them out. However, remember they are heavy infantry. This means that they are covered in thick armour. Be careful what type of weapon you are using on them.
You can either eliminate both of them, or Fulton them to your Mother Base if you need their stats.
Side Ops #67 – Eliminate – Heavy Infantry 02
You’ll have to eliminate two heavy infantry guys. Both can be located near the number 8 guard post. You can either sneak up behind them and choke their breath out, or employ whatever tactic you want. They are out in the open, and do you know what this means? It’s time for some creativity baby.
Fulton whoever you want and ditch the rest.
Side Ops #68 – Eliminate – Heavy Infantry 03
You’ll have to eliminate three infantry guys that are located at the guard post number 4. They are pretty distanced from each other, which makes killing them quite easy.
One by one, sneak up to them, eliminate whoever you don’t want and Fulton the ones that have great stats for the Mother Base.
Side Ops #69 – Eliminate – Heavy Infantry 04
We recommend to bring D-Dog along as he is the best at finding enemies and targets.
This Side Op tasks you with eliminating three heavy infantry guys. They can be found north of guard post number 5. They are spread apart so it makes it pretty easy to sneak kill them one by one.
Side Ops #70 – Eliminate – Heavy Infantry 05
There are four heavy infantry guys that need to be eliminated for you to complete this Side Op. They are all located at guard post number 15.
They aren’t close to each other, and to be frank, there’s quite the distance gap between them. Sniping them one by one will be super easy – as long as you maintain the stealth factor.
Side Ops #71 – Eliminate – Heavy Infantry 06
We recommend to bring D-Dog along as he can pin-point the location of enemies and targets.
There are four heavy infantry guys that need to be eliminated in this Side Op. Everyone of them are stationed at the number 22 guard post. Two of them can be located at each end of the post, while two others patrol back and forth in the centre of the area.
You can start by killing off the ones that are stationed at each end of the post, and then, focus on the middle guys.
Side Ops #72 – Eliminate – Heavy Infantry 07
There are four heavy infantry guys that need to be eliminated for you to complete this Side Op. They are all located north of the number 20 guard post.
Two of them are patrolling at the top of the hill, while the other two are wandering at the bottom. The soldiers will eventually stop, wait a little bit and then turn around – that’s the time for you to strike.
This mission is a walk in the park – you can complete it in two minutes tops.
Side Ops #73 – Eliminate – Heavy Infantry 08
There are five heavy infantry guys that need to be removed from the game. The are stationed at the guard post circled with blue on the map. They are heavily armoured, and they are quite near each-other. I recommend caution.
You’ll need explosives to cut through that thick armour of theirs and also a very high power weapon. Sneak your way to victory, and be careful not to be seen or it’s the end of Big Boss.
Side Ops #74 – Eliminate – Heavy Infantry 09
We recommend to let Quiet tag along on this one, as she can do all the work and finish the mission in no time.
There are six heavy infantry guys that need to be murdered. All of them are found on the top of the hill that’s located westwards of guard post number 11.
Make your way from the north towards the hill. This way, you’ll catch a team of two. Kill them and let Quiet eliminate the rest.
Side Ops #75 – Eliminate – Heavy Infantry 10
We recommend to bring D-Dog along as he can find the enemy’s location in no time.
There are six heavy infantry guys stationed at guard post number 3. One is at the very top of the hill, one sits in the middle of it, two at the north end, and two at the south end.
You have to start with the one that has the higher ground and work your way down towards the rest.
You should let the north and south end for last. They are so spread apart, you can do whatever you want do them.