
We are nearing the end of our The Phantom Pain Side Ops Guide. We’ll be discussing Side Ops between 101 and 125. Next week we’ll be publishing the last The Phantom Pain Side Ops Guide – 126 through 157. So, stay tuned for more tips, tricks, and cheats on how to get a 100 percent completion rate.
Stumbled upon this guide but don’t know what The Phantom Pain is? It’s the latest Metal Gear Solid title from Konami. Check our very own MGS review to understand why we love it to bits. If you fancy it, why not buy it? Don’t pay full price for a game ever again.
In this Side Ops guide, we’ll be discussing the remaining 6 armored vehicle elimination missions, 3 legendary and one container extraction, a rendezvous with Quiet, another extraction Side Op, but this time there’s an Intel Agent involved, a tough, but not so tough, challenge, and 12 tank removals.
Let’s get down to business!
- Metal Gear Solid 5 Side Ops – 1 to 25
- Metal Gear Solid 5 Side Ops – 26 to 50
- Metal Gear Solid 5 Side Ops – 51 to 75
- Metal Gear Solid 5 Side Ops – 76 to 100
- Metal Gear Solid 5 Side Ops – 126 to 157
MGSV The Phantom Pain Side Ops Guide 101-125

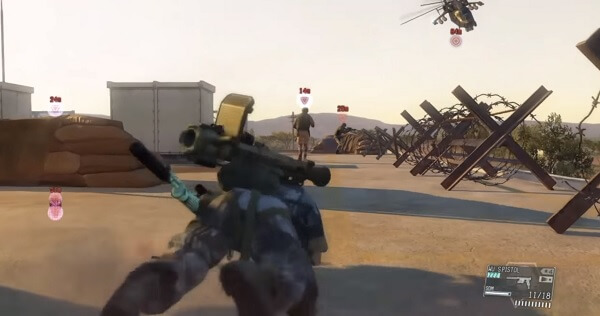
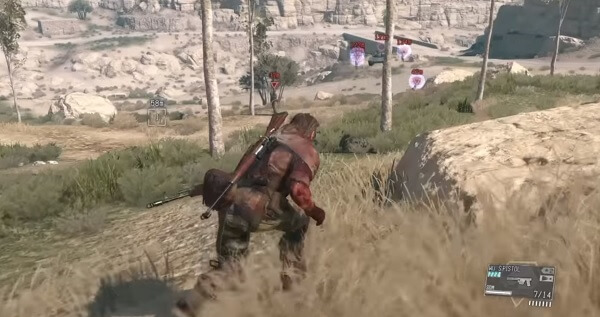
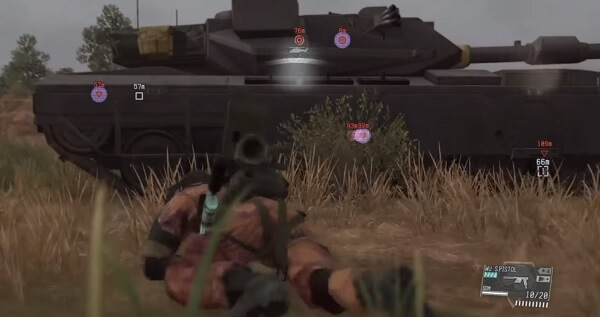
Side Ops #101 – Eliminate – Armored Vehicle Unit 09
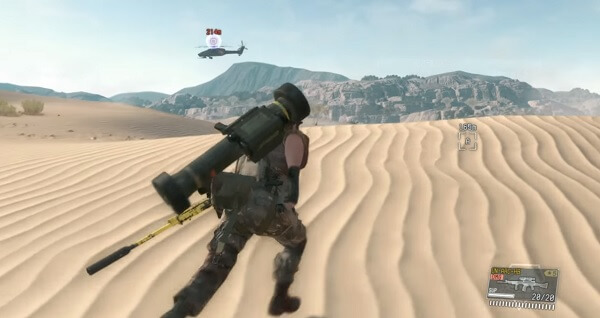
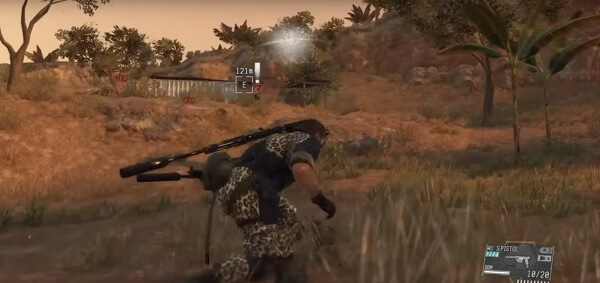
- You’ll encounter three snipers, three soldiers, and two armored vehicles. This time, you won’t be fighting gunships. Meaning that the sky is clear and Big Boss has to deal only with pesky infantry units. If you stick to the ground, the snipers won’t play whack-a-mole with you. There’s no need to encounter anyone. Just sneak your way to the armored vehicles, and Fulton them out of there.
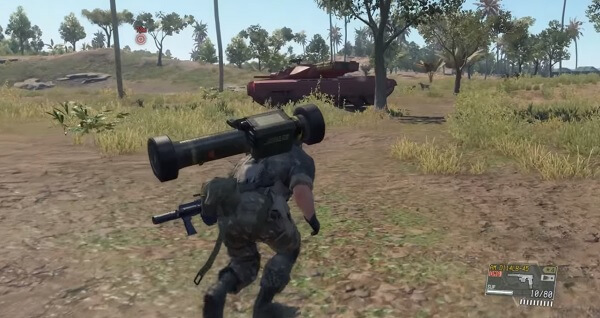
- Plan B is to bring a rocket launcher and blow them to smithereens. But then the snipers will look for your head.
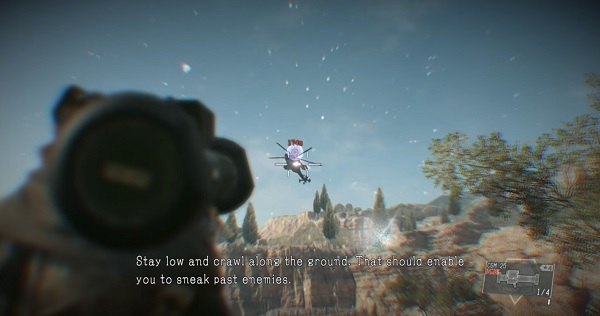
Side Ops #102 – Eliminate – Armored Vehicle Unit 10
- Consider taking DD along as he can use his special ability to sniff out your enemy’s location.
- There’s a gunship roaming above, so it’s best to spawn to the west of the airport. Get close and personal with it and use your rocket launcher to blow it away. However, this will alert the armored vehicles and all of the foot soldiers.
- Make your way from the south of the airport and get to a vantage point. From there, you’ll notice that there are 2 snipers, four soldiers, and two armored vehicles ready to be dealt with.
- You should have Stun Arm level 3 by now. Soldiers will be huddled together, scattering outside for the enemy that destroyed their gunship. Use the aforementioned weapon to make them go buh-bye.
- There will be another three soldiers that are searching for Snake. They’ve left their positions and the armored vehicles are unguarded. You can either take your time and neutralize your foes, or just Fulton your targets to the Mother Base.
- I got bored and started using my rocket launcher on the remaining soldiers. It was fun but costly.
Side Ops #103 – Eliminate – Armored Vehicle Unit 11
- In order to unlock this Side Op, the player has to complete Side Op 100, and secret mission #46.
- Be prepared for a tough fight, as you’ll encounter a gunship – God I hate them; 2 armored vehicles, and 6 soldiers.
- Spawn near guard post number 4 and run towards the Ruins. But don’t go willy-nilly in the middle of the area because you’ll be shot by snipers, soldiers, and the gunship.
- Position yourself so you have the gunship in sight. Bring the rocket launcher out of your backpack and blow it up. The mission got easier, but just slightly.
- Afterward, you can enter the ruins and climb one of the southern towers. But be careful, as snipers are known to scout the tower area from time to time. Be sure that the snipers can’t shoot at you once you’re at the top of the tower.
- Get your rocket launcher out and rain hellfire on your foes. Destroy everything and the Side Op can be marked as complete.
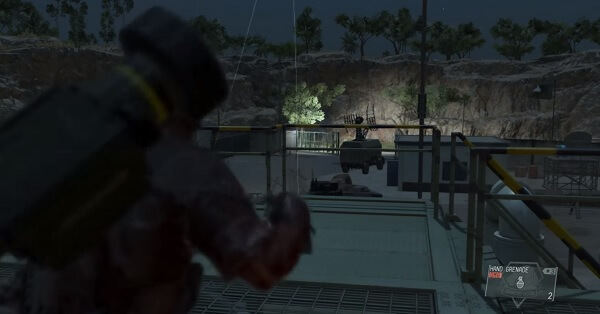
Side Ops #104 – Eliminate – Armored Vehicle Unit 12
- Consider taking DD along as he can use his special ability to sniff out your enemy’s location.
- This mission is a little bit intimidating at first. You’ll be battling against two armored vehicles, four soldiers, two snipers and the gunship – with the latter receiving the award for the most hated enemy in all of The Phantom Pain.
- We recommend you spawn at night as Big Boss can observe the gunship’s pattern without being noticed. This time, we’ll leave it at the end of the mission.
- Everyone – tanks, soldiers, and snipers; is focused on guarding the middle of the base, for whatever reason. This is a good thing, as you can sneak up on them from behind. Take to the eastern side of the base and make your way from there.
- The first to fall to your might will be two soldiers located just near an armored vehicle. Extract it quickly.
- Don’t go straight to the next target as you have work to do beforehand. Run to the northern walls and climb the upper metal catwalks in order to neutralize the two pesky snipers on top. Below, you’ll find a lone soldier – deal with him as well.
- Quietly, make your way to the next armored vehicle. There’s going to be someone guarding it, but the soldier won’t notice when you’ll Fulton the vehicle. Sneak up and subdue him – but be gentle, it’s not his fault he got the night shift in the first place.
- Now, go ahead and blast that annoying gunship out of the sky and complete the mission.
Side Ops #105 – Eliminate – Armored Vehicle Unit 13
- In order to unlock this Side Op, the player has to complete Side Op 104, and secret mission #46.
- This Side Op is rather easy, given that you just went through a nightmare’ish Side Op just moments ago.
- Make your way to the western part of the Ditadi Abandoned Village. You’ll encounter a few infantry units, nothing serious. However, this doesn’t mean Big Boss can start the conflict in open field as the enemy will shred him to bits.
- Go to the north part of the area, and destroy the gunship first. The enemies will be on high alert, but they won’t search the north side. The armored vehicle will be unguarded, extract it and get out of there.
- You can kill the remaining soldiers only if you want to.
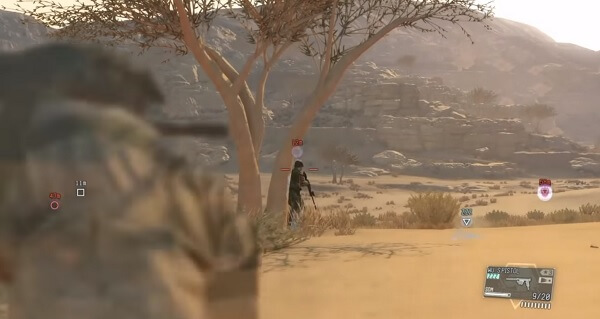
Side Ops #106 – Eliminate – Armored Vehicle Unit 14
- Consider taking DD along as he can use his special ability to sniff out your enemy’s location.
- This armored vehicle unit can be located west of the Lamar Khaate Palace, in an area riddled with sand dunes. Go to the southwest side and take down the gunship immediately. This gunship is a little bit tougher than your average air vehicle. It will take two rocket blasts to take it down.
- Afterward, you have to take care of the remaining enemies: three soldiers, three snipers, and two armored vehicles.
- The very first armored vehicle can be found in the north, guarded by a sniper. He’s hidden in plain sight and can be easily spotted. The other two snipers can be found in the middle of the sand dunes. Once you’ve dealt with them, there’s not need for further complications. Use a Stun Arm level 3 blast to deal with the rest.
- Fulton the second armored vehicle and the mission can be completed.
Side Ops #107 – Extract – Legendary Gunsmith 02
- Consider taking DD along as he can use his special ability to sniff out your enemy’s location.
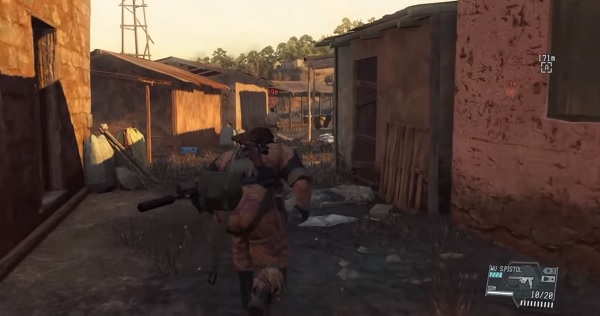
- This legendary gunsmith is located in Bwala ya Masa. Go to the north of the area and you’ll find a plethora of soldiers. The target itself has his very own retinue comprised of three guards.
- Have patience, so you don’t get yourself in a sticky situation.
- In order to successfully neutralize everyone, spawn to the south of the village and make your way from there. You’ll have to subdue five guards that patrol the southern area, but you can easily do so by employing your stealth skills.
- Your target and his retinue of three bodyguards will wander across the village. They’ll eventually come to the south side, and when they do, you can takem them all from behind. One by one, knock them out. Extract the legendary gunsmith and you’re done.
- Worth noting, if you get spotted and alert the whole village, the legendary gunsmith along with this bodyguards will flee and seek safe haven inside a small shed. That small shed can be found by the river.
Side Ops #108 – Extract – Legendary Gunsmith 02
- Consider taking DD along as he can use his special ability to sniff out your enemy’s location.
- There’s another so-called legendary gunsmith that needs guidance – that’s a fancy way of saying kidnapping.
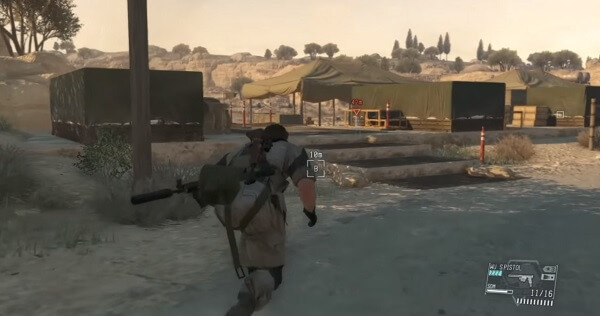
- Legendary gunsmith #2 can be found on the eastern side of the Afghanistan Base Camp, under a tent near the shooting range.
- He’ll be guarded by three soldiers and one sniper. There’s also a soldier that likes to patrol the area, but if you’re swift enough you don’t have to deal with him.
- Infiltrate the area from the northern section of the map. Crawl and stick your face into the mud and under the pipelines found on the left side of the path.
- The guards protecting the legendary gunsmith also love to wander around. Take your time, and when he’s left with only two soldiers keeping watch, tranquilize them both and extract your target.
Side Ops #109 – Extract – Legendary Gunsmith 03
- Consider taking DD along as he can use his special ability to sniff out your enemy’s location.
- Now, you find out that the past two legendary gunsmiths were all frauds. Number 3 is the real legendary gunsmith that you need to extract.
- He can be found in Yakho Oboo. Remember Mission 10 where Malak was being held hostage? That’s where you have to go now.
- It’s the westernmost room in the area.
- We recommend you spawn at the north of the Yakho Oboo and follow the path to the top of the hill. From there, you can spot guards on rooftops. Subdue them as they are the biggest threat in the mission.
- There’s another guard that can be found standing at the rear exit. Do whatever you wish with him as long as he’ll end up being incapacitated.
- The last guard that has to be dealt with can be found inside the legendary gunsmith’s room. Sure, there are a few soldiers on the other side but if you do everything right, there’s no need to maim them.
- Extract the legendary gunsmith to complete the Side Op.
Side Ops #110 – Extract – Materials Containers
- You can either take Quiet or DD along. Quiet is the muscle of the operation, and D-Dog can find enemies. You pick, as both of them are pretty great.
- Go to the southwest area of the Bampeve Plantation. The container can be found just in front of a shed. However, it is guarded by 3 soldiers. Two of them are protecting the shed from outside, and a lone soldier is inside making sure there are no moles trying to infiltrate from underneath.
- Brought Quiet along? Let her fire with Tranq darts. Why? Because the three guards have great stats that you most certainly need to bolster your Mother Base ranks.
- Extract the soldiers first, and afterward the container to complete the Side Op.
Side Ops #111 – Visit Quiet
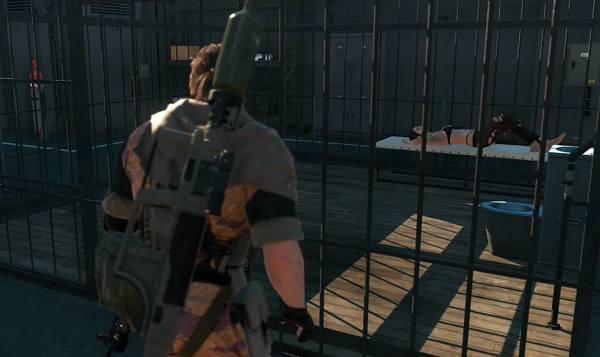
- This is an essential mission that needs to be completed as soon as it is available. You can start it after successfully completing Mission 13. However, the Side Op will not be triggered if you’re playing someone that isn’t Snake. Ocelot will not start the conversation unless he sees Snake, so switch characters and go to him. He can be found outside the cell.
- After you have entered the Brig at the Medical platform listen to what Ocelot has to say to complete the mission.
- Now, Quiet is available for deployment.
Side Ops #112 – Extract – Intel Agent
- To unlock this Side Op, you have to first complete Mission #43, or the Intel Operative Rescue Side Op. But the Intel Operative Rescue Side Op isn’t part of the Phantom Pain title. It can be found in the previous MGSV: Ground Zeroes. Just download the save game via the TPP title screen if you have it.
- Consider taking DD along as he can use his special ability to sniff out your enemy’s location.
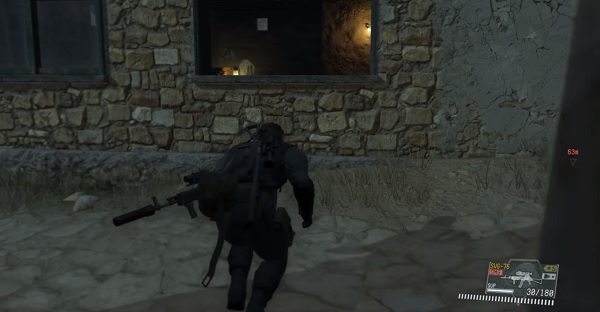
- The Intel Agent can be found at Da Ghwandai Khar. Remember Mission 1 where you went to find Miller? He can be found in the same room.
- There won’t be a ton of guards roaming the village, but this isn’t an excuse to go loud and guns blazing.
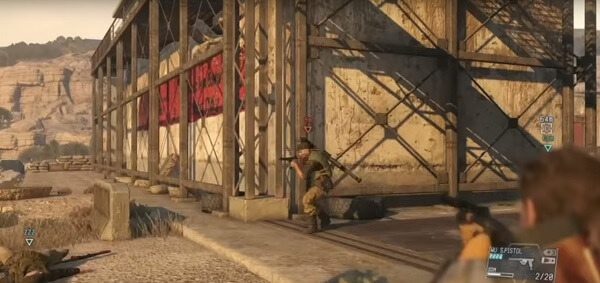
- If you take to the north cliff to the east of the area, you won’t have any problems with enemies. Make your way to the top floor of the building and neutralize the guard that’s standing outside the room. Once you get near the target, a cutscene will trigger.
- Take the target outside, and if there aren’t any soldiers around, you can extract him to the Mother Base.
Side Ops #113 – Eli’s Challenge
- This Side Op can be unlocked only after you have completed Mission 26.
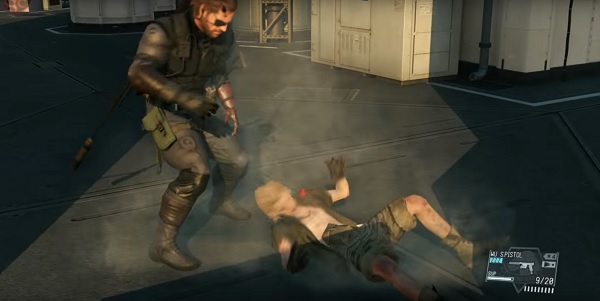
- This Side Op will put you head to head with Eli. He’s not a worthy challenger, but he has some nasty tricks up his sleeve. The battle will take place on the second deck of the R and D platform. The gameplay is a little challenging.
- Eli has stun grenades, petrol bombs and he’ll do some machete swings.
- He’ll throw stun grenades at Snake, which will disrupt vision and it will allow Eli to do a rear attack. As soon as you see the red grenade symbol displayed, you should dive in the opposite direction.
- Your challenger will also toss Petrol bombs. This means that Snake is in trouble of getting on fire. Dive on the ground to put the flames out if you can’t avoid them.
- The most annoying attack has to be the machete swing. It does a lot of damage so be careful. You have to use counter on Eli in order to disrupt his attack.
- This battle bares similarities with the fight in Mission 23. Yet, Eli has more patience, and he can wait in his hiding spot until you slip up. The Sonar Arm is a worthy tool against Eli, as it can pinpoint the exact location of your foe. This means that you have the opportunity to sneak up and bash Eli’s face in.
- After you knock down Eli four times, the mission will be successfully completed. Your rewards? The Conch Shell key item, which enables the Fulton Extraction of Children, and the sought after Petrol Bomb development.
Side Ops #114 – Eliminate – Tank Unit 01
- Consider taking Quiet along as she can help you get rid of nasty soldiers.
- This tank unit is located south of Da Ghwandai Kar. You’ll be battling six enemies: the tank itself, one sniper and four soldiers. Three soldiers will be standing just near the tank with the sniper and the rest of the entourage sitting above, keeping watch over the target.
- No, they’re not floating. They can be found on the rock ledge.
- We recommend taking care of the sniper and his friends first. Afterward, you can order Quiet to deal with the rest.
- Fulton the tank when the coast is clear.
- Worth noting, the area is prone to sandstorms. If you find it too difficult, wait for a sandstorm to start.
Side Ops #115 – Eliminate – Tank Unit 02
- Consider taking DD along as he can use his special ability to sniff out your enemy’s location.
- This unit is comprised of two tanks, and it is located east of the Lamar Khaate Palace, in a sand dune riddled area. There are four soldiers guarding the tanks, two for each – there’s one footsoldier and one sniper.
- There are also two other soldiers wandering around in circles.
- We recommend you take the south route as to not alert the enemy. Sneak in from the center of the area, as both snipers are focusing their attention on the sides.
- Don’t interfere with the patrolling guards, stick to eliminating the snipers first. Don’t interrogate anyone as you’re in close proximity of foes. If they hear you, things can get worse, and you certainly don’t want that.
- Repeat this strategy for the other sniper, on the opposite side and when everyone is neutralized you can Fulton both tanks.
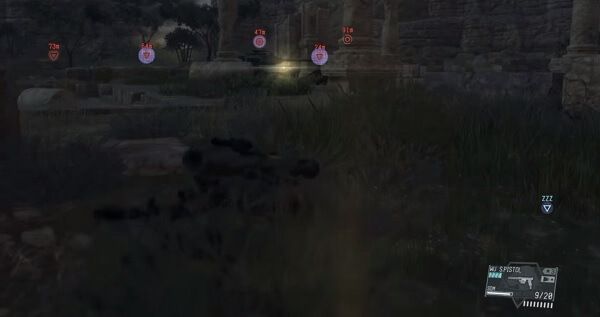
Side Ops #116 – Eliminate – Tank Unit 03
- Consider taking Quiet along as she can get rid of the soldiers while you take care of the tank and the gunship.
- Spawn to the west of the Aabe Shipaf Ruins and be sure that you packed a strong rocket launcher with you. Quickly, get your rocket launcher out and blow up the gunship. It will make things easier.
- You can either destroy everything in sight or Fulton the tank. Let’s take the easy way out.
- With the gunship singing lullabies to the dead, it’s time to make your way to the towers in the south. Climb them so you have the perfect vantage point.
- Now, give the order to Quiet to snipe the soldiers’ heads off while you blow up the tank. Keep firing at the tank, as it takes quite a lot of damage to end its life.
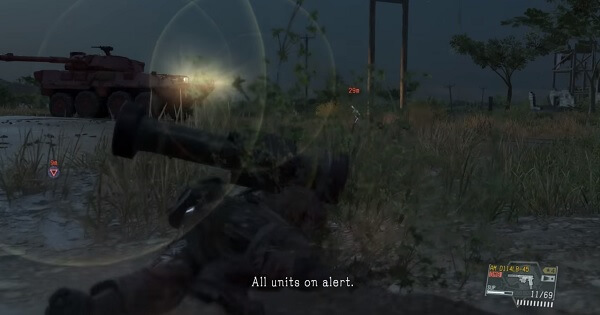
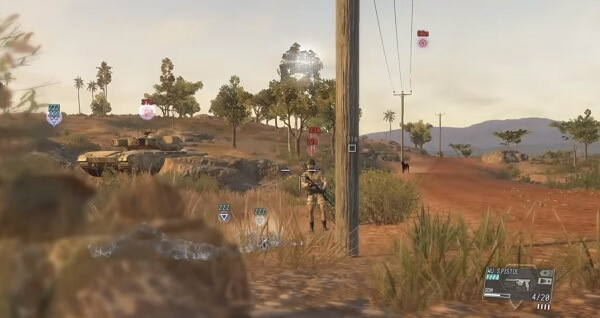
Side Ops #117 – Eliminate – Tank Unit 04
- Consider taking DD along as he can use his special ability to sniff out your enemy’s location.
- This Side Op will take place south of the number 15 guard post. You’ll encounter nine enemies: a tank, a pesky gunship, four soldiers and three snipers.
- At first, it seems like this Side Op is a tough cookie, but if you plan ahead, then it’s going to be a walk in the park – a walk in the park riddled with corpses and blood, however.
- Clean out guard post number 15 beforehand, so you don’t have to deal with reinforcements. After you have secured the guard post, just point your rocket launcher at the gunship and shoot.
- This, of course, entails that everyone is going to be on a high alert. Hide, and wait until everyone assumes their standard patrols.
- Go for the snipers first. They can be found above the hill. Afterward, you can go straight to the tank and extract it. Neutralize the rest of the soldiers and go home – you deserve it!
Side Ops #118 – Eliminate – Tank Unit 05

- Consider taking DD along as he can use his special ability to sniff out your enemy’s location.
- We recommend you take the southern route. Spawn at the south of the airport and have a rocket launcher packed in your suitcase. There’s a gunship flying the friendly skies and it needs to meet the scrapyard as soon as possible.
- However, you can’t destroy it when it’s hovering above the airport because you’ll get detected.
- After you find the perfect moment to eliminate the gunship, make your way to the airport by jumping over the southern gate. You’ll encounter five soldiers, two snipers and your main target – the tank.
- As usual, take care of the snipers first as they have an incredible line of sight and their bullets hurt – a lot. We recommend you get close and personal and neutralize them. You can snipe them as well, but be sure to pack a suppressed sniper rifle.
- Now, it’s time for the remaining soldiers. Use Stun Arm level 3 to blast them to happy dream land. Mind you, don’t get cocky. The tank can blow its horn and wake them up quite quickly. So, as soon as they go nappy nap, jump down and Fulton the tank before it wakes up his buddies.
- Extract whoever you want to the Mother Base. There are a couple of soldiers with awesome stats that are worth the trouble.
Side Ops #119 – Eliminate – Tank Unit 06
- Consider taking D-Dog or Quiet along. D-Dog can find your enemies and Quiet can quickly eliminate soldiers. You pick.
- This tank unit is comprised of two tanks and six soldiers. The two tanks are quite close to each other, and there are four soldiers that keep an eye out for enemies – two for each tank.
- There are also two more that patrol the path between the road and the tanks.
- Quiet proves to be the best pick of the two as she can take care of the soldiers while you flood the tanks with rockets.
- If you plan on going the stealth way, it’s going to take a lot more time. You’ll have to bait enemies from the tanks near the house. Repeat this for every enemy.
- After you have neutralized the tanks’ personal retinue, you can Fulton them to your Mother Base.
- Don’t forget to subdue the wandering soldiers.
Side Ops #120 – Eliminate – Tank Unit 07
- Consider taking DD along as he can use his special ability to sniff out your enemy’s location.
- The battle area is located between the Kiziba Camp and guard post number 1. There’s a gunship hovering around the encampment, so it’s best to deal with it first.
- Spawn to the west section and blow up the gunship. Things will get a lot easier after you do so.
- After the gunship is no more, go and hide for a while as every enemy will be scattering to find and kill you. You’ll be battling four soldiers, two snipers, and two tanks.
- We recommend you take care of the snipers that keep watch over the tanks. Afterward, extract the tanks as the soldiers are wandering around the area.
- Use Stun Arm level 3 to blast them to hell.
Side Ops #121 – Eliminate – Tank Unit 08
- Consider taking DD along as he can use his special ability to sniff out your enemy’s location.
- This tank unit is located between the Munoko ya Nioka station and guard post number 20.
- Spawn to the north of guard post number 20 and ready your rocket launcher. Yes, you’re right, there’s a gunship that flies around the area. Immediately as you arrive, you are met with the immense opportunity of destroying a gunship. Take it.
- Don’t worry about the noise, because the guards at the post won’t even acknowledge the crash. However, you’ll have to deal with the tank, the four soldiers, and the snipers.
- Start with the snipers. There’s quite the distance between them so chances of being discovered are quite slim.
- After you have subdued all the guards, Fulton the tanks to complete the mission.
Side Ops #122 – Eliminate – Tank Unit 09
- Consider taking Quiet along, as she can help you by getting rid of pesky soldiers. However, she can’t destroy gunships nor tanks, so don’t leave her to die.
- This Side Op is a real pain in the place where the sun doesn’t shine.
- Don’t start the Side Op just yet. Do some recon work and clear everything that breathes in the Yakho Oboo area. Sure, it’s not mandatory, but it’s the best strategy you can possibly use.
- The gunship wanders a huge area, and guards are spread across the section. Meaning that if you don’t clear Yakhoo Oboo of enemies before starting Side Ops #22, you’ll be swamped and killed in a matter of minutes.
- After you have cleared the zone, be sure there are no guards on the route towards the tank unit.
- At this point, you’ve done everything there is to do in order to assure victory.
- Infiltrate the encampment from the north. There’s one gunship that needs to be dealt with as soon as possible, one tank, six soldiers, and one sniper.
- All of them are stationed on top of the small hill.
- After the gunship is destroyed, order Quiet to kill al of the snipers to the north. Now, it’s your time to shine – Fulton the tank while she engages the enemy.
- Stay hidden until everyone gets a dose of Quiet rage.
Side Ops #123 – Eliminate – Tank Unit 10
- This Side Op isn’t tough, but it’s quite challenging as things can get nasty real quick.
- There are two tanks to get rid of, one helicopter and a few soldiers. Pack a rocket launcher so you can destroy the helicopter.
- After the helicopter comes crashing down, the tank unit will be on high alert. Hide for a couple of minutes until the waters calm.
- There’s a group of four soldiers that patrol the area, get rid of them before extracting the tanks. Once the coast is clear, Fulton your targets to the Mother Base.
Side Ops #124 – Eliminate – Tank Unit 11

- There are several snipers protecting this tank unit. Also, there is a helicopter roaming the area. Bring the strongest rocket launcher you have. Not only you need to destroy the pesky helicopter, but the tank has a ton of HP – basically, it’s a damage sponge.
- First, get rid of the snipers and the other soldiers. Only after the infantry is no more, you can shoot down the helicopter.
- Bring the strongest rocket launcher that you have in your arsenal. By now, you should have acquired the FB MR R-Launcher. It will take about 8 body shots until the tank explodes.
- Yet, if you feel skillful enough, you can try to Fulton it to your Mother Base.
Side Ops #125 – Eliminate – Tank Unit 12
- Consider taking DD along as he can use his special ability to sniff out your enemy’s location.
- Another tough one. Be prepared awesome gamer, because as soon as you spawn to the north of the area, you’re in for a treat!
- Bring your rocket launcher with you and shoot the gunship immediately as you see it. Afterward, quickly get up and run to a hiding place as the three snipers will shoot at your position. They don’t know your exact location, and we want it to remain like that.
- Keep clear of the event until everything calms itself.
- Afterward, you have to take care of the whole tank unit, which is located east of guard post number 6. Besides the three snipers, you have to neutralize four soldiers and one tank. Use D-Dog’s Kill ability to help you with the snipers. Take care of them and move to the soldiers. Use a Stun Arm level 3 blast and extract the tank once the coast is clear.
- It will take several tries, but don’t worry, it’s not you, it’s the Side Ops’ difficulty.